
Setting up a 10 gallon planted tank.
1. Prepare the tank.
Check the tank is water tight. It's normally a good idea to fill it somewhere then get everywhere dry around it. This will make patches of water visable as soon as they occur. If the tank is safe move onto cleaning it. Clean and rinse it thoroughly. If the tank has been used before and you need to steralize it use a a bleach and water solution, one part bleach to 19 parts water. Swill it through well afterwards and dry it out.
Place it on an surface or stand designed to take an aquarium, most tables will not be strong enough to take the weight. Line it up properly on the stand and position it near an electrical point ( though not dangerously so) and not in direct sunlight or near a busy/noisy area. If you smoke avoid having the tank in the room where you do most of your smoking as this forms a scum on the water surface. A piece of matting is placed underneath the tank to act as a cushion for the glass. Make sure it is level before setting it up and if corrections need to be made, make them to the legs of the stand and not the tank itself. You need to leave enough room for the cover to sit securely on the tank.
***Once there is substrate or water in the tank you can no longer safely move the aquarium***

2. Preparing the other equipment you will need.
It's a good idea to organise everything you need for the tank before you start setting it up. A filter and heater are essential for a tropical community tank. If they have been used before they will require steralising just like the tank, so wash them in the bleach solution, rinse and dry them before use. Swill new filter sponges under the tap to remove dust and fit together the filter as instructed in the manual.
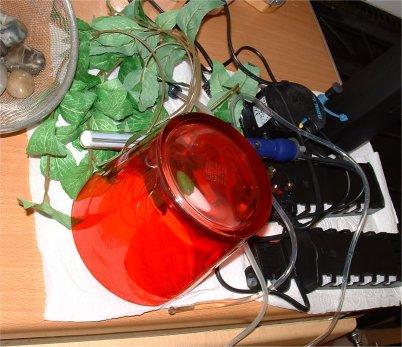
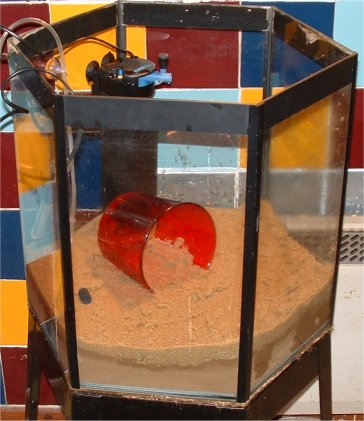
You will also need to wash any ornaments or tank decorations you use. For this tank we washed and tested a large red glass bowl, its important with anything not intentionally designed for a tank that you test it does not leak dye or alter the chemistry of the tank. If you are going to use plastic plants rinse them in luke warm water at this point.
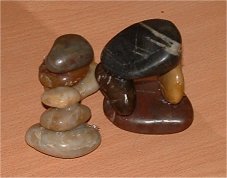
A few days before setting up the aquarium we used ( aquarium- safe) silicon sealant to construct a couple of stone towers and cave to add to the tank. Now they are dry and the sealant hardened we swilled them off and scaped off any superfluous sealant, then added them to the tank.
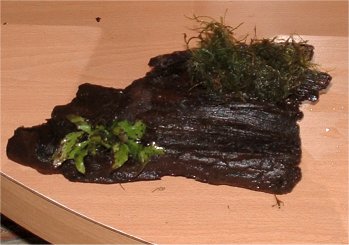
For a week before setting up the tank we have soaked a piece of bog wood to remove some of the tanins. The water needs to be changed daily and hot water seems more effective than cold. You do not have to soak bog wood before use, the fish will not mind tanins in the water and the stain eventually will fade with water changes. We removed this from the water it had been soaking in and using dark cotton attached some java ferns and java moss, ready to go in the tank.
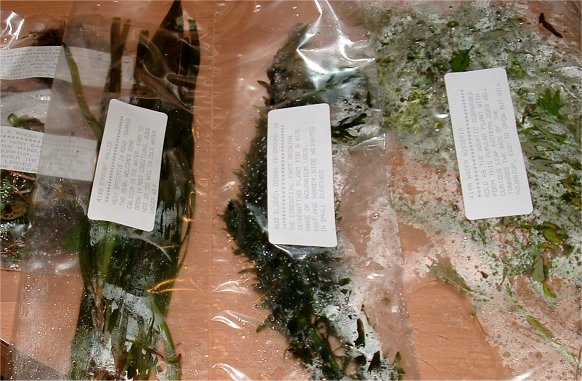
We also ordered some plants from an online retailer. It can take about a week for the plants to arrive after you have ordered them, look on the website to work out when the plants may arrive. The plants need to be taken out of their bags and soaked, then rinsed thoroughly but gently under a luke warm tap. For the very delicate plants we used a salt solution rather than the often recommended (1 part bleach 19 parts water) bleach solution, plants such as java moss do not like bleach however dilute, and personally I have found the bleach solution even at this ratio far too harsh.
3.Preparing the substrate.
If you are going to use an internal background you may want to place and secure it before adding the substrate. If you are going to paint on a background to the outside of the tank now is also the time to do it, make sure you have plenty of ventilation.
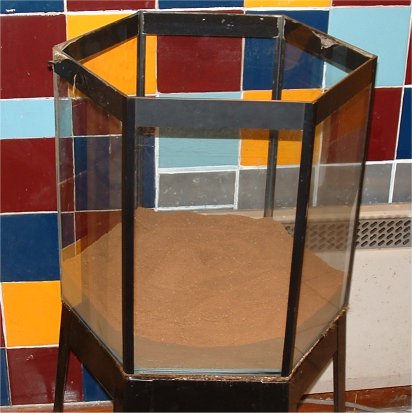
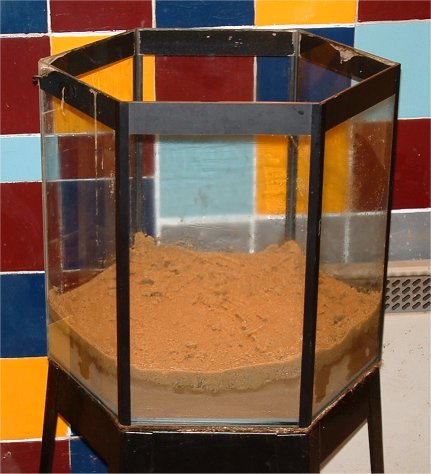
Next we placed 2.5 inches of aquatic compost in an even layer at the bottom of the tank. We then worked it into a slight gradient making it slightly shallower at the front of the tank - not only does this look more natural but it also encourages debris to collect at the front of the tank where it is easy to spot and remove. We then swilled the silica sand and added that in a 1.5 inch layer on top of the compost. If you are using gravel as you substrate you will need to thoroughly wash it before use. If using coloured gravel you should ideally wash it until the water runs clear.
Always add substrate gently so as not to crack the base of the tank.
 .......
4. Placing in the heater, filter and aeration.
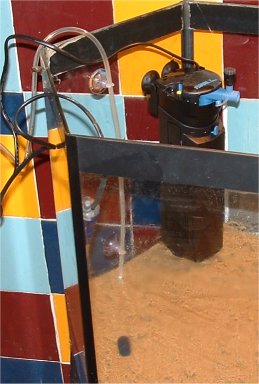
We then placed in the heater and the filter. It's a good idea not to place the heater directly in the path of the outflow from your filter. If you are concerned that a good flow of water goes past the heater place the air stone near it instead. We also placed the filter low in the tank to make sure there is suction at the base of the aquarium as our tank is narrow but deep. To make sure there is sufficient aeration on the surface we included a bubbler in the tank and use cable suction cups to keep it in place. You can use a one-way valve on the air tube to prevent water being sucked back into the pump unit. If you dont have a valve make sure there is a loop in the tube hanging below the level of the pump unit. The pump unit should hopefully sit somewhere above the water level of the tank.
 .................................
5. Adding ornaments.
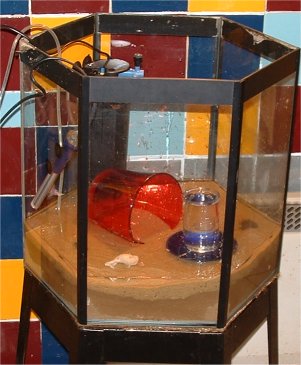
After creating several tanks we find it is easiest to place the central ornament first and then build around it. In this case we are using a large glass container on its side to form a kind of cave for the centre of the tank We also added a few stones, and shells at this point to create a few more naturalistic features. Both stones and shells can effect the pH of your tank so be careful to chose only inert stones and use only a few shells as they will raise the pH of the water. Make sure there is no chance that larger ornaments will topple over.
6.Filling the tank with water.
The easiest way to fill the tank is to place a saucer and tall glass on the substrate and pour the water directly into the glass. This will avoid disturbing ornaments or the substrate and not much debris will be thrown up into the water. Because we were adding the plants straight away we used water at 25 degrees C and dechlorinated it before use.
 ...............
7. Placing your live plants.
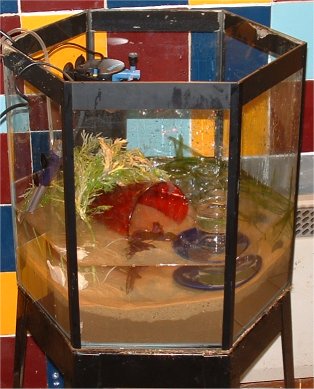
We filled the tank to the top of the glass container we were pouring the water into and then began to add the plants. Half filling the tank allows the foliage of the plants to be suspended in the water and you get a better idea of how the plants will look when the tank is full. You can also plant "damp" - using a mister and placing the plants in the tank before adding any water, or even plant when the aquarium is full. Bury the plants roots as per each plants requirements, many just need their roots anchored in the substrate. It is normally recommended that you put the taller plants at the back and use smaller plants in the foreground. Make sure to remove any dead or damaged leaves from your plants before using them.
8. Final touches.
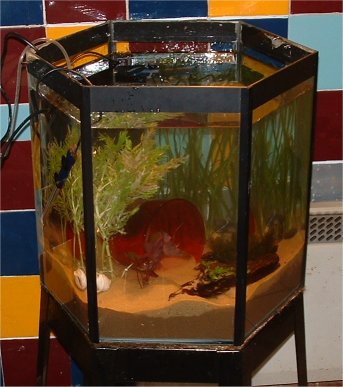
We then placed the bog wood where the saucer had been and filled the tank up to the level we wanted. Before adding any fish, let the filter run for 5-7 days. Also, you may notice that there maybe a lot of bubbles clinging to the glass - this is because tap water is pressurised, and as cold water is warmed and left in the aquarium, gasses are released.
9. Final tank!
We placed the lighting in the hood and replaced the condensation tray on top of the tank. We then tested the heater, filter, air bubbles and light were all working. The tank must sit now until it is time to add fish.
